There’s hardly a faster way to connect with an audience in real time than live streaming. You just go online, and here you go, viewers are there searching for engaging content. In this article, we’ll break down how to live stream on X, from the requirements and setup process to tips that help you create broadcasts that attract an audience.
The best thing is? Live streaming requires no learning curve. The whole process is so easy that even someone who’s never done it before can get started within minutes.
How to Live Stream on X: What You Need Before You Start
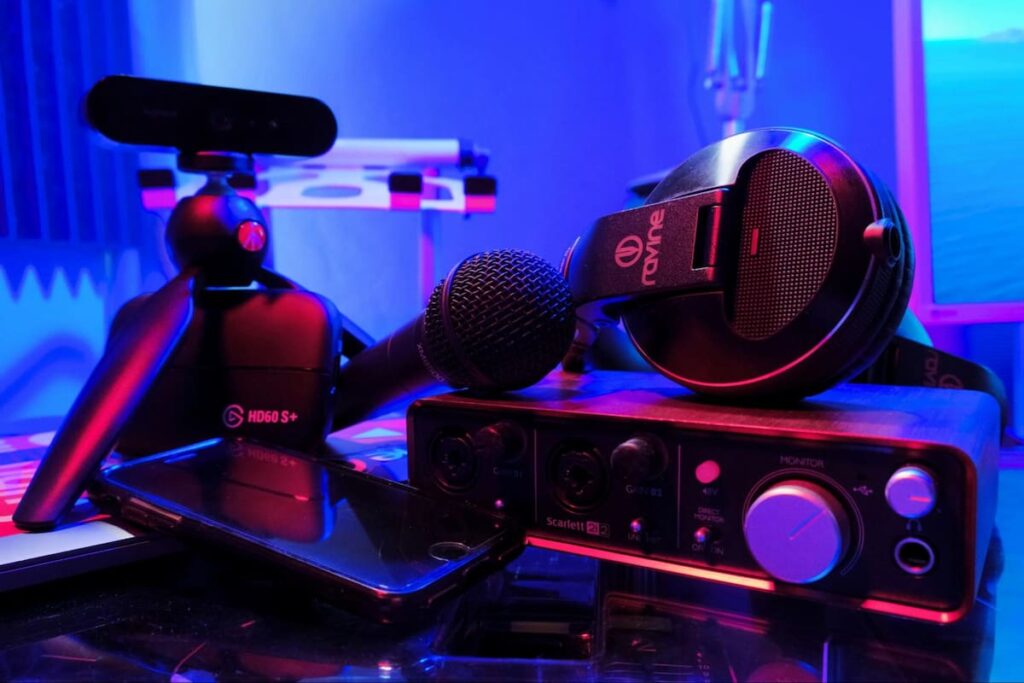
Before you start working on your first broadcast, equip yourself with the right tools and permissions from the get-go. The X platform supports a range of broadcasting tools for streaming, but not all users have the same access level.
So it’s worth checking what status you have right away.
Here are the basics you’ll need:
- An active X account;
- Internet connection;
- A smartphone, computer, or camera setup;
- Live streaming software (for desktop streaming);
- A microphone;
- Good lighting.
Many streamers focus heavily on video quality, but sound plays at least as big, if not bigger, a role in how the broadcast will turn out. As a famous filmmaker, George Lucas once said, “Sound is 50 percent of the movie-going experience”.
With that in mind, make sure that your microphone produces a clear sound and that your voice sounds good. If people can’t hear you properly, no one will hang around, even if your video looks nice.
Basic Requirements at a Glance
Let’s quickly look at the key equipment any streamer should have in their arsenal and which setup helps create professional-looking videos.
| Requirement | Why It Matters | Recommended Option |
|---|---|---|
| Internet Speed | Prevents interruptions and buffering | 10 Mbps upload or higher |
| Microphone | Improves communication | USB or external microphone |
| Camera | Creates a professional-looking image | HD webcam or smartphone |
| Streaming Software | Sends video to X | OBS Studio or similar tools |
| Lighting | Makes the video clearer | Ring light or natural light |
If any of these things are compromised, you’ll struggle to engage your viewers or interact with people in real time. Everything works in a bundle.
Speaking of requirements, streamers can broadcast videos in two ways: via the mobile application or desktop, depending on their setup or goals.
The mobile app is an easy way to share quick broadcasts. Streamers who only have a small audience and/or don’t have professional streaming equipment often rely on the X mobile app.
Just like the mobile app, the desktop requires third-party software and is best suited for users who want to share professional broadcasts with large audiences for marketing purposes.
Whichever path you choose, you will also need an active subscription. This could be X Premium or Premium+, depending on the access and tools you plan to use.
Now let’s talk in more detail about how to live stream on X via mobile and desktop.
How to Live Stream on X Using a Mobile Device
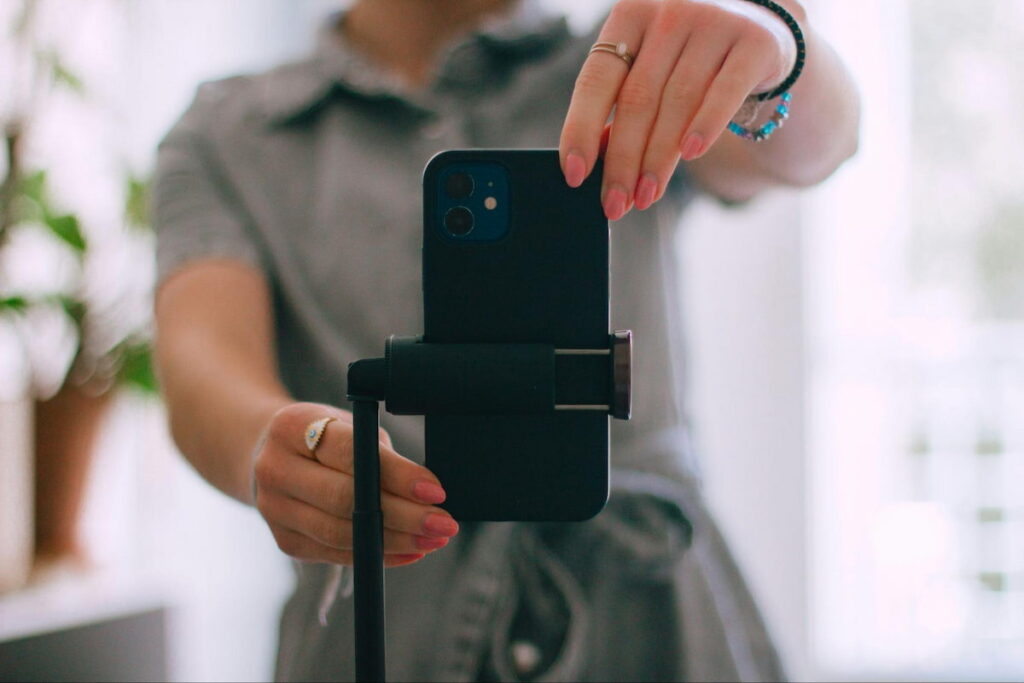
Many people, especially those who’ve not done live streaming before, find streaming via the mobile app the easiest way to get started. As long as your smartphone has a good camera and the Internet connection is stable, sharing a broadcast with an audience can be done with just a few taps.
Here’s how to do it:
Step 1: Open Your X Account
Log in to your account and make sure your profile information is complete. When people start finding your content, you want it to come across as professional and trustworthy, so it’s a good idea to add a profile picture and a brief bio.
Now, check whether your account is public. Posts published from protected profiles are not visible to people who aren’t on your friends list.
Step 2: Access Live Broadcasting Features
Now, go to the composer where you normally create posts and find the camera icon. Tapping on this icon will open a little menu with options. You should see “Live” at the bottom of the list.
Before going live, check your account once again. Live streaming is exciting, but a non-functioning microphone or camera can make your experience stressful and frustrating.
Step 3: Set Up Your Stream
You can now set up your stream. Create a title or description that tells viewers exactly what your broadcast is about. If you like, you can also add a location tag so people from your area can easily find your broadcasts.
Here are a few examples of searchable titles that work great for live streams:
- Weekly Marketing Q&A;
- Best Cold Email Software;
- Live Product Demonstration;
- Gaming Session With Subscribers;
- Behind-the-Scenes Business Update.
Don’t write generic titles or titles that don’t let viewers understand what the broadcast covers. Your titles should be descriptive and optimized for people’s queries.
Step 4: Start Streaming
When everything is ready:
- Check your camera framing;
- Test your microphone (once again);
- Make sure the Internet is working;
- Begin your broadcast.
The first few moments make the strongest impression with audiences, so make sure to be friendly and welcome viewers as they join.
Once the stream is over, end by tapping “Stop”. The X platform will automatically post it, and you can also save it to your camera roll.
How to Live Stream on X From a Computer
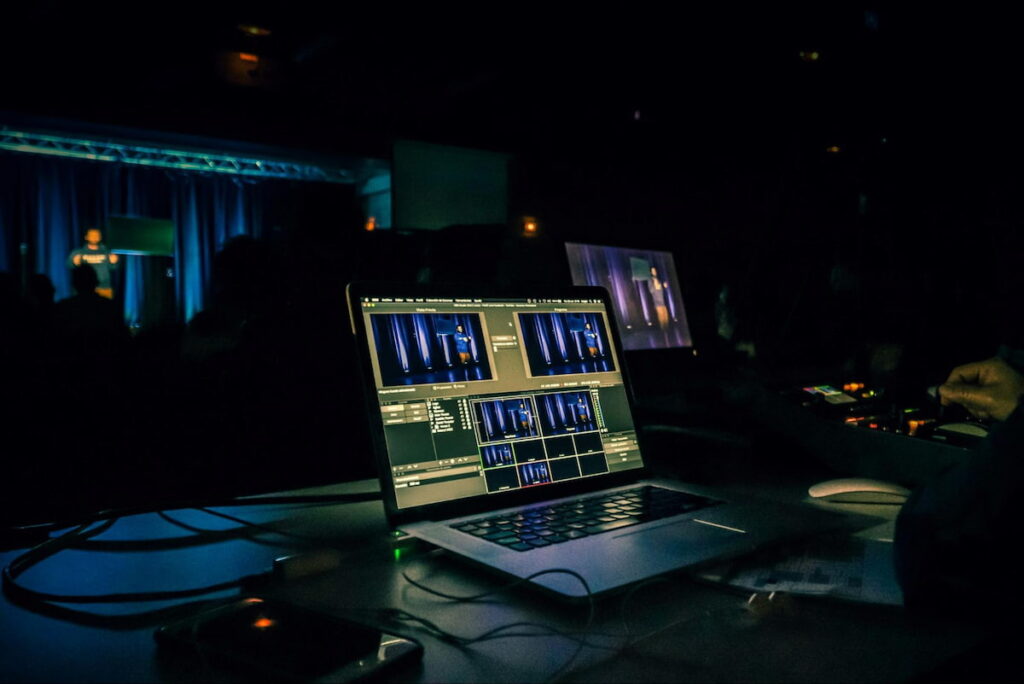
Streaming from a desktop gives you more flexibility and control and is especially useful for gaming streams, tutorials, interviews, webinars,product launches, and showcasing affiliate products. However, you’ll need a third-party software encoding software to get started.
Some of the most popular options among streamers include:
- OBS Studio;
- Streamlabs;
- Wirecast;
- vMix.
But this list isn’t exhaustive, and you can find many other great alternatives.
Now, let’s get to the nitty-gritty.
Step 1: Get a Premium Subscription
To live stream on X from a desktop, you will need X Media Studio Producer, which can only be accessed through an active premium subscription. The price for X Premium starts at $3 per month and goes up to $40 per month for Premium+ plans.
Step 2: Go to the Media Studio Producer Dashboard
Now log in to your account and go to the Media Studio Producer dashboard. Here, you can configure stream settings and manage your broadcasts.
Step 3: Connect Your Software
Finally, connect your software. Make sure it’s RTMP-compatible so you can send live streams to the platform. To connect the software, find “Create Source” in the X Media Studio Producer dashboard settings, click “RTMP”, and, if requested, specify your region.
Now you’ll be asked to click “Create”. Click it, and the Producer will generate the stream key and URL. These are essential credentials that serve as your password, which is why they should never be shared with anyone.
Next up, open the encoding software and add X. In case of a generic RTMP setup, just paste the stream key and URL that have been generated earlier into the fields. That’s it.
Advanced Tips for Better X Live Streams
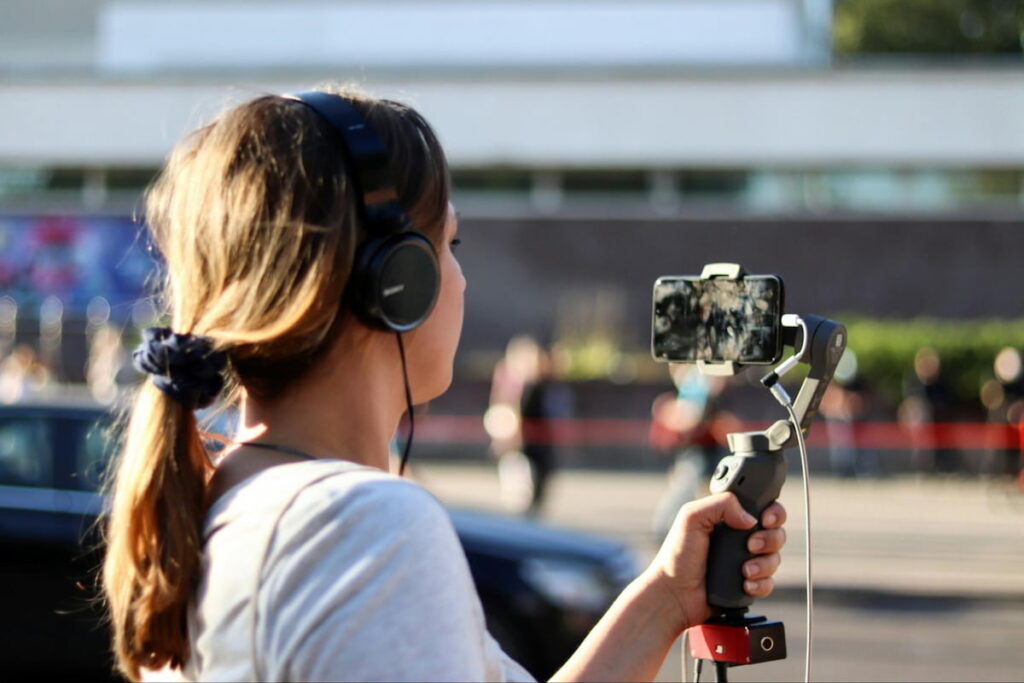
Many first-time streamers feel overwhelmed by software settings, but a little goes a long way. Don’t worry about fancy graphics if you’ve just figured out how to live stream on X. Keep it simple during the first few broadcasts and improve one step at a time.
Once you’ve mastered the basics, you can start working on improving your production quality. Here are a few advanced tips for professional-looking X live streams.
Use Multiple Camera Angles
Experiment with camera angles. Adding visual variety keeps viewers interested and engaged. This is particularly useful for demonstrations, tutorials, and interviews. If you have another camera, add it to your setup to show close-up details that might otherwise be missed. Another thing worth experimenting with are conference cameras, particularly useful when you need a wide angle for several people on screen.
Add On-Screen Graphics
Graphics help amplify your message. Little details like name tags, topic titles, or event branding can make your stream much more appealing and engaging for your viewers.
That said, avoid adding too many elements so as not to clutter the screen. Don’t forget that many people watch live streams on their mobile devices, which is why readability should never be compromised.
Monitor Stream Health During Broadcasts
Technical issues can leak in broadcasting without you knowing it. Therefore, while presenting, you should always keep an eye on:
- Upload speed;
- Dropped frames;
- Audio levels;
- Viewer comments;
- Internet stability
Many social streaming platforms and broadcasting tools provide real-time performance indicators that can alert you to problems before viewers start leaving.
Final Thoughts
To bring it to the chase, streaming on X doesn’t require a long learning curve or years of experience. You don’t even need to be a videographer. Anyone with a stable Internet connection, a decent camera, and something to share with the public can stream live in no time.
Just don’t let panic overwhelm you. X settings might seem confusing at first. The good news is that everything is much simpler than many think. Start with simple streams to get the knack of the tool, and you’ll quickly learn to produce better production quality.
The important thing is to begin and have something valuable to share. Every successful streamer went through the same hassle as you when they started out, but because they didn’t let fear get the better of them, they’ve made it to where they are now. And you can do it, too.